How to Create an Interactive E-Learning Course from a PowerPoint Presentation
Artur Yakhin
Fullstack Developer Brusnika.LMS
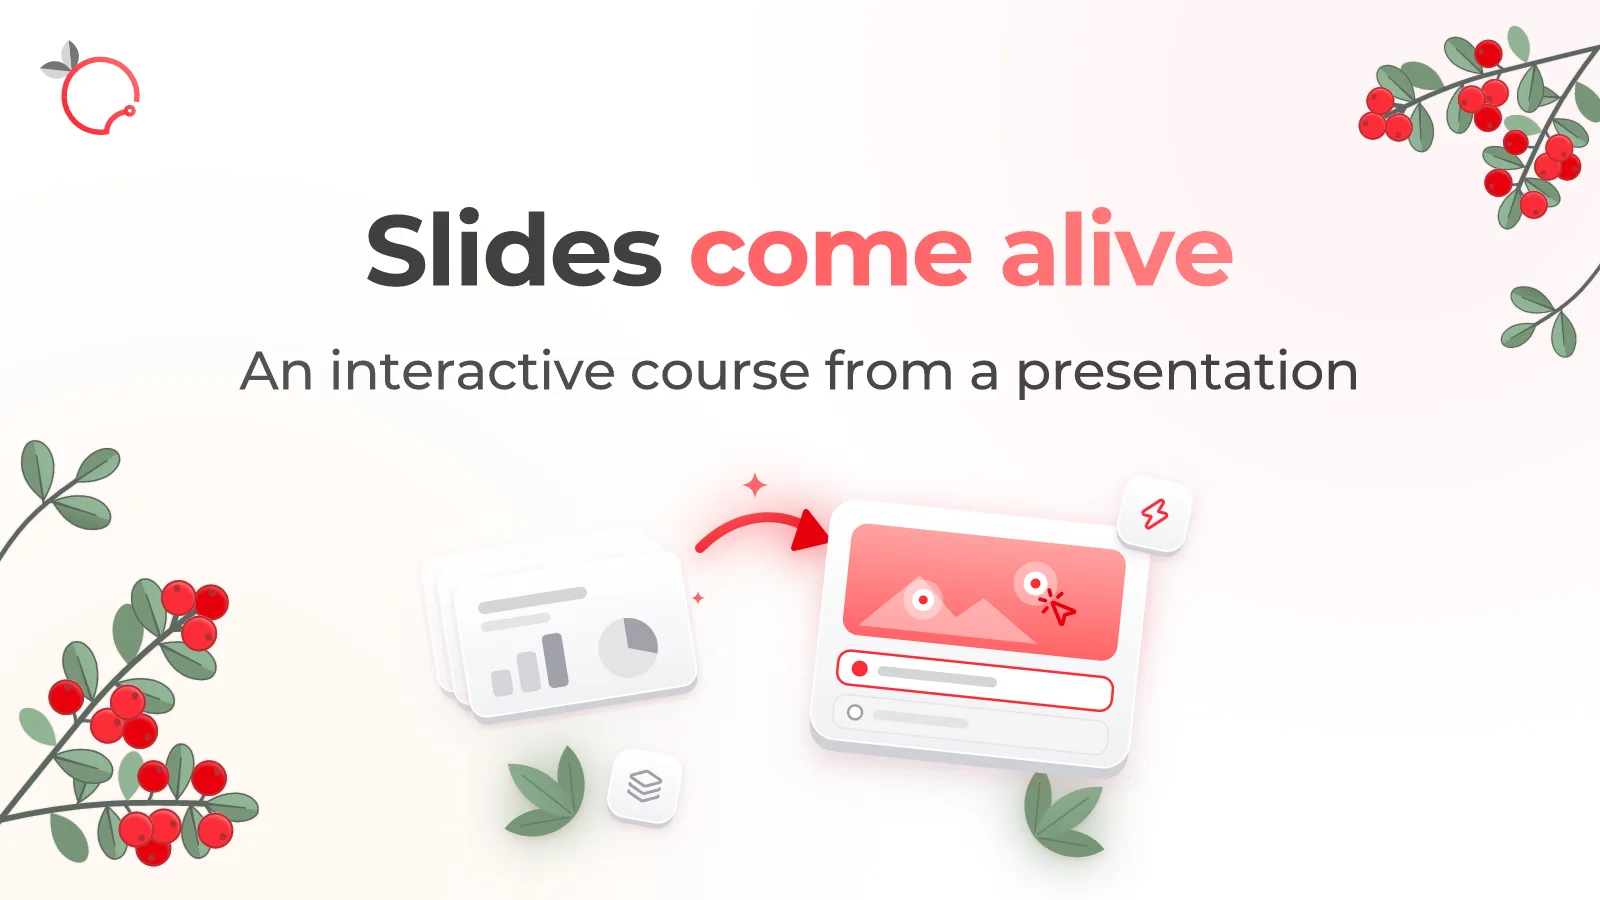
PowerPoint presentations often become the foundation of corporate training. They already contain learning materials, diagrams, illustrations, instructions and expert explanations. But a regular presentation is not always suited to self-paced learning: the learner simply flips through slides with almost no interaction with the content.
Brusnika Interactive is a free online authoring tool for interactive e-learning courses based on PowerPoint presentations. It lets you upload a PPTX file, add interactive elements, assignments, animation and navigation logic to the slides, and then export the finished material to SCORM 1.2, SCORM 2004 or HTML.
The tool runs in the browser and requires no registration or software installation. The course you create can be used in a learning management system (LMS) or launched on its own in HTML format.
Why turn a presentation into an interactive course
A presentation and an e-learning course serve different purposes.
A presentation usually accompanies a talk by an instructor or speaker. It helps present information step by step, but on its own it does not provide real interaction with the learner.
An interactive course lets you add actions to the learning material that require people to think and apply what they have learned:
- answer questions and check their understanding of the material;
- choose the right decisions in the situations presented;
- explore objects and uncover additional explanations;
- match concepts and put actions in the right order;
- work with interactive diagrams and images;
- receive feedback after completing assignments.
For example, an information security presentation can be supplemented with assignments on spotting phishing emails. Product material can get interactive cards with specifications. Equipment instructions can get assignments on identifying the correct sequence of actions.
You don't have to build the learning material from scratch. You can use an existing presentation as the basis for your course.
How Brusnika Interactive works
Working with the tool consists of several stages.
Step 1. Upload your PowerPoint presentation
Create a new project and upload a presentation in PPTX, PPSX, POTX or PPTM format.
Presentations up to 200 MB and up to 300 slides are supported.
You can also start with a blank project by choosing a slide format: 16:9, 4:3 or custom dimensions.
If you use Google Slides or Keynote, first export your presentation to PowerPoint format.
After upload, the tool converts the slides into images and separate editable objects. Text, images, shapes, tables and groups may be available for further editing.
There are limitations for complex objects: for example, charts, SmartArt and embedded objects remain part of the slide image.
After conversion, a report is shown listing the objects that could not be fully transferred, as well as simplified animations and replaced fonts.
Step 2. Add interactive elements
Brusnika Interactive supports 20 types of elements that you can place on top of slides.
Informational elements:
- text blocks;
- images with crop and border settings;
- shapes with text;
- tables with cell merging.
Interactive elements:
- buttons for actions and navigation;
- invisible areas with hints;
- pop-up windows;
- interactive cards;
- sliders;
- “Before and After” elements.
Cards support seven display options: grid, flip, tabs, accordion, timeline, step sequence and carousel.
This lets you create different formats of interaction instead of limiting yourself to standard slide-by-slide navigation.
For example, a product slide can hold several cards with its benefits. A slide about a technological process can have an interactive sequence of stages. In equipment training material, you can add an image with areas that open additional explanations.
Step 3. Add assignments and knowledge checks
Brusnika Interactive offers ten types of assignments:
- Single correct answer.
- Multiple correct answers.
- True or false.
- Image selection.
- Text input.
- Number input with a set tolerance.
- Ordering.
- Matching concepts.
- Dragging objects to the right areas.
- Finding specific areas on a slide.
For assignments, you can configure:
- the number of attempts;
- the weight of the assignment in the final score;
- hints and explanations;
- time limit for answering;
- navigation after a correct or incorrect answer.
Assignments can be used both to check knowledge and to reinforce material during the learning process itself.
Step 4. Set up logic and animation
One of the capabilities of Brusnika Interactive is configuring the behavior of elements and the navigation between slides.
The tool supports variables of three types: numeric, Boolean and text. With them, you can build simple logic for interacting with the learner.
Rules are built on the following principle:
When an event occurs → if conditions are met → perform an action.
For example:
- if the user selected a certain answer option, show an additional explanation;
- if a condition is met, open the next slide;
- if a variable's value has reached a set level, show the corresponding element;
- if the user clicked a button, open a window or go to a specific slide.
You can use actions to show and hide objects, lock elements, change variables, and play and pause media.
Entrance, exit, emphasis and straight-line motion animations are also available.
For presentations that contain video, you can create interactive videos: place questions at specific timestamps and pause the video until an answer is given.
At the same time, the tool offers basic logic and animation, but is not yet intended for building complex scenarios at the level of Articulate Storyline.
Step 5. Configure course completion
You can choose the course completion conditions:
- viewing all slides;
- completing all assignments;
- completing the required assignments;
- reaching a set percentage;
- free navigation with no set condition.
The default passing score is 70%.
You can also configure the overall course duration, the order in which slides are viewed, navigation, and whether the learner can move on to the next material.
Step 6. Export the finished course
When you finish, the project can be exported in one of three formats:
- SCORM 1.2 — for use in learning management systems that support this standard;
- SCORM 2004 — for LMS platforms that support the corresponding SCORM version;
- HTML — for standalone launch without an LMS.
A SCORM package saves the completion status, score, bookmark and course state. This allows the learner to continue from where they left off.
The package contains its own player, so a constant internet connection is not required to take the course after export.
What courses you can create with Brusnika Interactive
The tool suits different types of corporate training.
Product and service training
Training employees on procedures and policies
Occupational health and industrial safety
Sales and customer service training
New employee onboarding
Brusnika Interactive and other e-learning authoring tools
The market has professional e-learning development suites, such as iSpring Suite and Articulate Storyline. They offer broad capabilities for developing complex interactive courses.
Brusnika Interactive solves a more specific task: it lets you quickly convert an existing PowerPoint presentation into interactive learning material.
Key differences:
- works directly in the browser;
- requires no application installation;
- requires no registration;
- lets you use existing presentations;
- supports assignments, interactive elements, basic logic and animation;
- exports projects to SCORM and HTML.
This is a convenient option for L&D specialists, instructors and course authors who need to add interactivity to materials that are already prepared, without mastering a complex development environment.
Limitations and compatibility
There are a few things to keep in mind before you start.
- PPTX, PPSX, POTX and PPTM files are supported. The old PPT format is not supported.
- Charts, SmartArt and embedded objects may remain as images.
- Complex elements and some PowerPoint animations may be simplified during conversion.
- Editing the original PowerPoint file inside the tool is not supported.
- The editor works on a computer. On mobile devices, preview and course playback are available, but not editing.
- The maximum presentation size is 200 MB, and the number of slides is up to 300.
- A project remains available for editing for 72 hours after creation. The period is not extended when changes are made.
The exported course player supports 18 interface languages, including Russian, English, German, Spanish, French, Chinese, Japanese and Arabic.
The project author chooses the player language. The author creates the course content on their own.
Frequently asked questions
Try Brusnika Interactive
If you already have PowerPoint presentations used for employee training, try turning them into interactive e-learning courses.
Add assignments, cards, interactive elements and navigation logic, and then export the finished material to SCORM or HTML.
Brusnika Interactive — create interactive courses from PowerPoint right in your browser, with no registration and no software installation.
Other Brusnika Authoring Tools:
- Longread Builder — create e-learning materials in longread format.
- Quiz Builder — create interactive quizzes.
- Branching Scenarios — create scenarios with branches and consequences of decisions.
- Free Online Tools for Creating E-Learning: An Overview of Brusnika Authoring Tools.